
A 5% per-mission Beskar rate translates to roughly 22.6% after five independent attempts and 40.1% after ten, using the standard cumulative probability formula. That gap between the quoted number and the real number is the entire point of drop rate math in Droid Tycoon: budget your attempts against the cumulative curve, not the single-mission percentage, and plan rebirth timing around when that curve actually bends in your favor.
TL;DR:
- Achieving a 40% success rate after ten attempts at a 5% drop chance is typical, emphasizing the importance of planning attempts around the cumulative probability curve.
- Drop rates are independent; multiple misses do not increase the chance on subsequent attempts, and small sample sizes can produce misleading results.
- The expected number of drops scales with total attempts, with variance decreasing as sample size grows, making larger samples more reliable for estimating true rates.
- Community data and patch changes can alter the effective drop probability, so regular recalibration with your own results is necessary for accurate planning.
- Using tools like Droidex Companion automates attempt tracking and recalculations, improving precision and efficiency in farming sessions.
Table of Contents
- What Drop Rate Math Actually Means in Droid Tycoon
- The Formulas Behind Every Drop Rate Calculation
- Worked Examples: Beskar, Rainbow, and Beyond
- Rebirth Levels and Patches Change the Real Numbers
- Turning the Math Into a Farming Session Plan
- How Droidex Turns This Math Into a Live Workflow
- Why the Math Matters More Than the Streak
- Try Droidex Companion for Live Drop Rate Tracking
- Sources
- FAQ
What Drop Rate Math Actually Means in Droid Tycoon
A per-attempt probability, written as p, is the chance a specific outcome happens on one try. If the Fortnite Wiki lists Beskar blueprint drop chance at 5% per mission, that number describes exactly one mission in isolation. It says nothing about what happens across ten, fifty, or five hundred missions.
Independent trials are the backbone of this math. Each mission's outcome doesn't depend on the last one. Whether you got Beskar on attempt three has zero bearing on attempt four. This is where most players go wrong: after several misses, it feels like a hit is "due." It isn't. The droid conveyor has no memory.
Expected value gives you the average outcome over many trials, calculated as the number of attempts multiplied by p. Run 100 missions at a 5% Beskar rate and you'd expect 5 successes on average, though any individual run could land at 2 or 9 just from normal variance.
A few misconceptions worth clearing up before the formulas:
- A quoted "drop rate" from patch notes or the wiki is a stated design value, not a guarantee you'll match it in your own sample.
- Your personal observed rate, written as p̂ (p-hat), can differ from the stated p until your sample size grows large enough to smooth out variance.
- Missing a drop ten times in a row does not raise your odds on attempt eleven. Independence means the odds reset identically every time.
- Small samples lie. Twenty missions without a 5% item happening is well within normal variance, not proof the rate is broken.
The Formulas Behind Every Drop Rate Calculation
Three equations cover almost everything you need to plan a farming session, and none of them require anything beyond a calculator.
1. Probability of at least one success across n attempts:
P(at least one) = 1 − (1 − p)^n
Here, p is your per-attempt probability as a decimal, and n is the number of independent attempts. The logic is subtractive: you calculate the chance of failing every single time, then subtract that from 1 to get the chance of succeeding at least once.
2. Expected number of successes:
E = n × p
This tells you the average outcome over repeated sessions, not what will happen in any one session. It's useful for planning chip and time budgets, not for predicting a single run.
3. Solving for required attempts to hit a target confidence level:
n = log(1 − target) / log(1 − p)
This rearranges the first formula so you can plug in a confidence goal (say, 90%) and a known p, and get back the number of attempts you'd need to reach it.
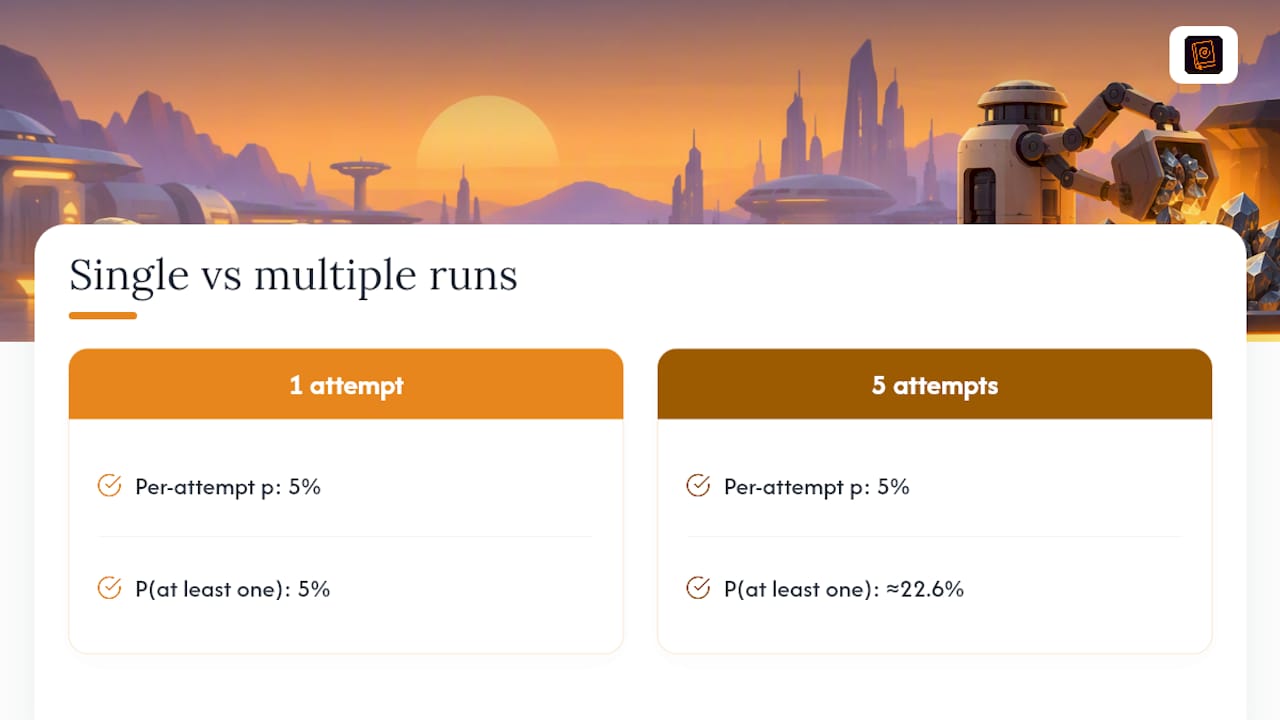
A community-supplied Reddit calculation puts this into practice directly: one mission at 5% is just 5%, but five separate attempts land at approximately 22.6%. That's exactly what formula 1 produces when you set p = 0.05 and n = 5.
Pro Tip: Keep p as a decimal in every calculation, not a percentage. Typing 5 instead of 0.05 into the formula is the single most common arithmetic mistake players make when checking their own math.
For quick reference, here's how attempts needed scale against a few common rates:
These numbers come directly from solving formula 3 for each p value. Notice how a threefold jump in per-attempt odds (5% to 15%) cuts the required attempts by roughly two thirds rather than three, since the relationship is logarithmic, not linear.
Worked Examples: Beskar, Rainbow, and Beyond
Numbers only mean something once you run them against actual in-game rates. Using the Beskar rate of 5% and the Rainbow rate of 15% both listed on the Droid Tycoon Wiki, here's what the cumulative curve looks like at increasing attempt counts.
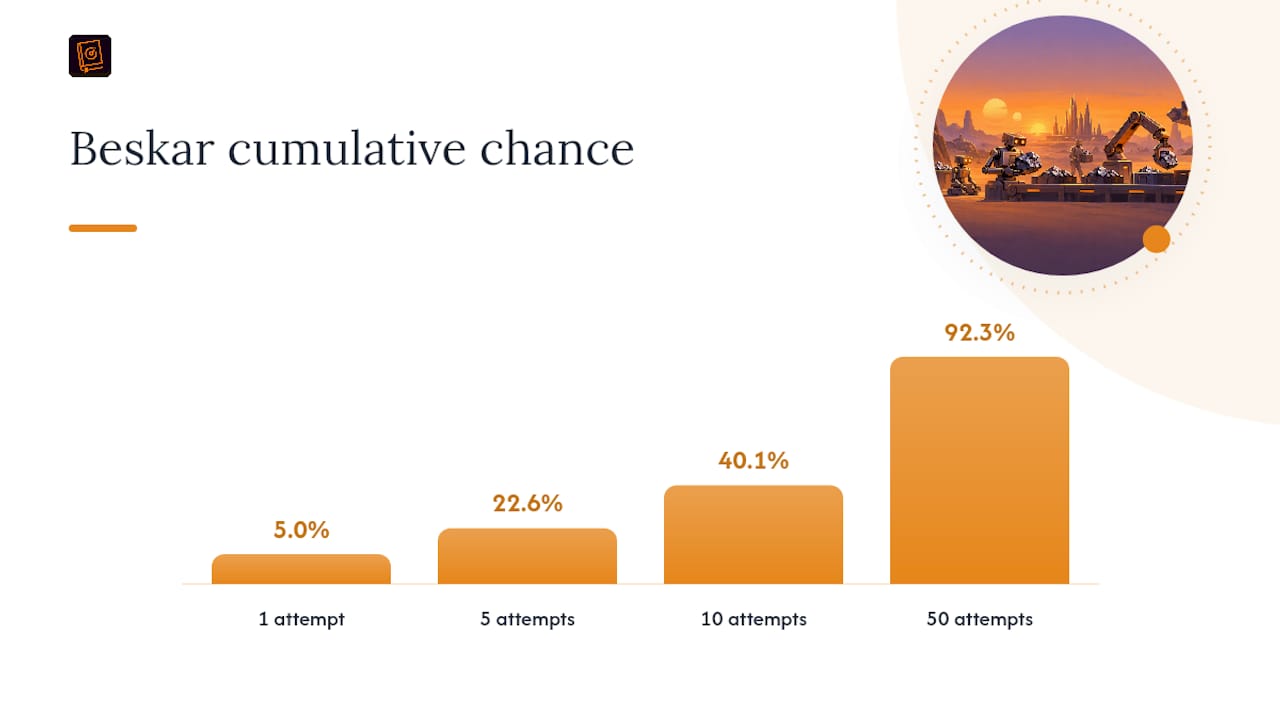
Cumulative chance for Beskar (p = 5%):
- n = 1: 5.0%
- n = 5: 22.6%
- n = 10: 40.1%
- n = 50: 92.3%
The curve accelerates fast early on, then flattens as you approach certainty, which is why chasing the last 10% of confidence costs disproportionately more attempts than the first 60%.
Solving for required attempts:
For Rainbow (p = 15%), the same targets drop to 9 and 14 attempts respectively, matching the reference table above.
Expected successes at scale:
- 50 attempts at p = 5%: expected 2.5 Beskar drops
- 100 attempts at p = 5%: expected 5 Beskar drops
- 500 attempts at p = 5%: expected 25 Beskar drops
Variance shrinks proportionally as your sample grows. At 50 attempts, seeing 0 or 5 drops instead of the expected 2.5 is common. At 500 attempts, drifting far from 25 becomes statistically unlikely, which is exactly why community sample data becomes more trustworthy the larger it gets.
Rebirth Levels and Patches Change the Real Numbers
The wiki-listed p value is a starting point, not a fixed truth for every player at every rebirth stage. Several community guides report that hitting Rebirth 3 noticeably increases how often rare droids like the Groundmech appear on the Sandcrawler conveyor compared to earlier rebirth levels. That's a real modifier on effective p, even though it isn't published as a specific percentage anywhere official.
Patches move the numbers too. The v1.26 changelog reports that Diamond, Rainbow, and Beskar items became more common on the conveyor after certain timers were removed, alongside new rebirth levels being added. Any p value you calculated before that patch is stale until you recheck it.
Here's a simple calibration workflow for turning your own play into a trustworthy p̂:
- Record every mission or conveyor pull in a session, noting whether the target item appeared.
- Divide successes by total attempts to get p̂ = successes / N.
- Substitute p̂ into the formulas above in place of the wiki's stated p for planning your next session.
- Re-run this calibration after any major patch, event, or rebirth milestone, since each can shift the underlying odds without warning.
Pro Tip: *Don't trust a p̂ calculated from fewer than 20 to 30 attempts.
Turning the Math Into a Farming Session Plan
The formulas only pay off once you build a session around them. That means setting a target confidence level before you start, not chasing a rare drop indefinitely with no stopping point.
- Pick a target confidence level (75% is a reasonable baseline, 90% for a genuinely rare grind) and calculate the attempts required using your calibrated p̂.
- Set a stop-loss: if you exceed your calculated n by 50% with no success, that's a signal to reassess rather than a signal to keep pushing blindly.
- Use the match-reset heuristic when hunting a specific rare spawn: joining a fresh match can reset the Sandcrawler's conveyor rotation, which is worth the time cost only when your remaining expected attempts in the current match are high.
- Prioritize rebirth progression before grinding rare hunts hard, since a higher rebirth level can shift your effective p upward before you spend a single extra chip.
- Save upgrade chips for Legendary and Mythic tier droids rather than spreading them thin across low-value upgrades, since tested cost tables show chip costs scale steeply by rarity.
A short pre-session checklist keeps this disciplined: log every attempt as it happens, write down your target confidence before you start, and decide your stop condition in advance rather than in the heat of a bad streak.
How Droidex Turns This Math Into a Live Workflow
Doing this math by hand works fine for a single calculation, but it breaks down fast across a real farming session where you're tracking dozens of attempts at once. Droidex Companion uses local screen recognition to log those attempts automatically as you play, which removes the manual tally-keeping that makes hand calculation tedious.
The practical workflow looks like this:
- Run a session with live tracking on, letting the app record each mission or conveyor result as it happens.
- Check your computed p̂ against the session log instead of estimating it from memory.
- Recalculate the attempts needed for your target confidence using that updated p̂.
- Use the rebirth cycle tracker to time your next rebirth against when your rare-spawn odds are actually shifting, not just when you feel ready.
- Cross-reference chip spending against the built-in upgrade cost calculator before committing resources to a specific droid.
This turns spreadsheet math into a decision you can make mid-session, which is where most players actually need it.
Why the Math Matters More Than the Streak
Most players judge drop rates by their last session, not by the actual distribution behind it. That's backwards.
The real skill here isn't running the formulas once. It's recalibrating p̂ often enough that your plan reflects the game as it currently exists, not as it existed before the last patch or before you hit your latest rebirth. Sample data from a companion tool beats a gut feeling every time, but don't let the spreadsheet replace the reason you started playing.
— Daniel
Try Droidex Companion for Live Drop Rate Tracking
A dedicated companion app can close the gap between the math in this guide and what actually happens on your screen, using local screen recognition instead of manual tallying or guesswork.
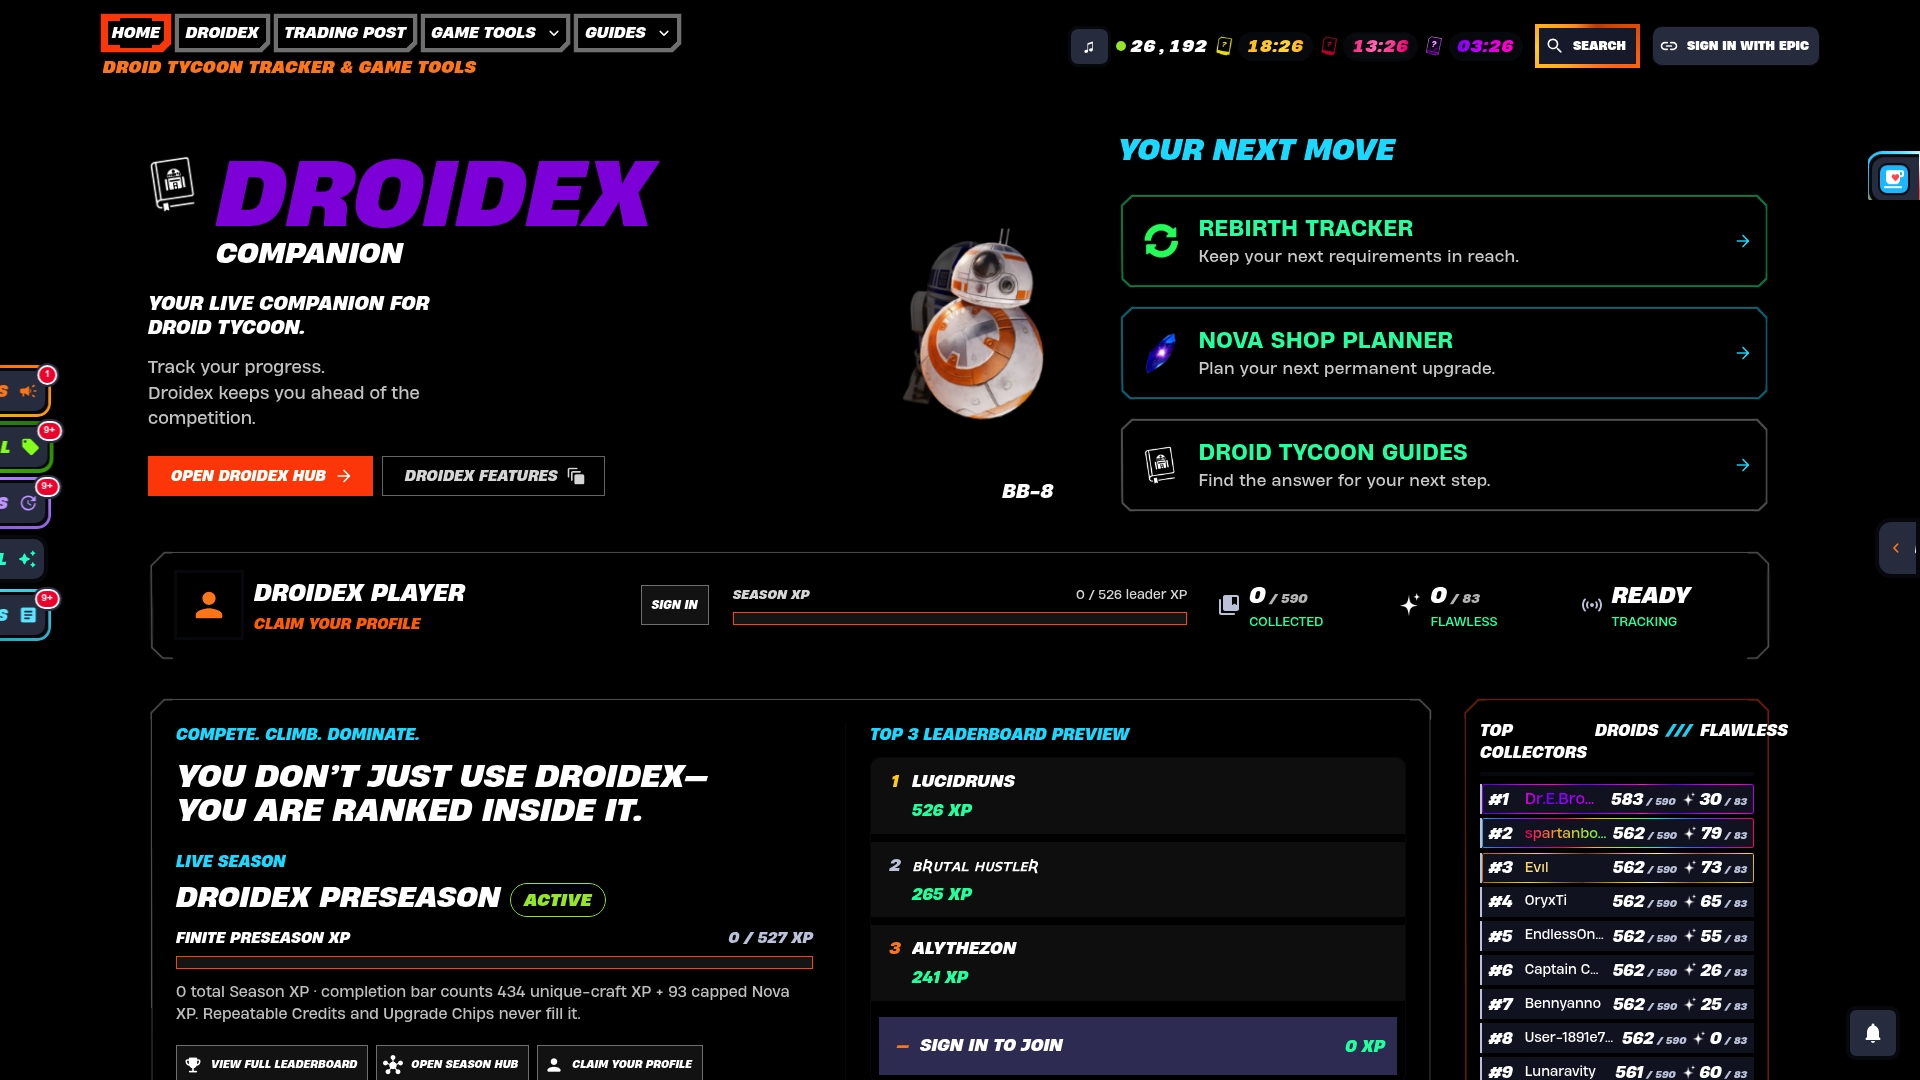
Such an app logs mission and conveyor results as you play, tracks your rebirth progress, and runs the upgrade-chip math automatically so you're not pausing gameplay to do arithmetic. Core features commonly remain free to use, with user support often available through optional donations rather than required purchases. Start by downloading Droidex Companion and running one tracked session. Once you have a real p̂ from your own play, check it against the community statistics page to see how your numbers compare, then use the rebirth tracker to plan your next milestone around what the data actually shows.
Sources
For readers who want to verify these numbers directly, the v1.26 patch notes cover the conveyor and rebirth changes referenced above. The Droid Tycoon Wiki maintains the baseline drop percentages used throughout this guide, and the tested upgrade cost breakdown backs the chip-priority advice in the tactics section.
- STAR WARS DROID TYCOON v1.26 is live! | Fortnite Communities
- Droid Tycoon - Fortnite Wiki
- Fortnite Star Wars Droid Tycoon: How to Upgrade Droids & All Upgrade Costs - Insider Gaming
FAQ
How long will Droid Tycoon last as a Fortnite mode?
Epic hasn't published a fixed end date for Droid Tycoon, and limited-time modes typically run until a scheduled patch cycle retires them. Checking the patch notes regularly is the most reliable way to catch changes before the mode shifts or ends.
What is the best companion droid type for farming in Droid Tycoon?
The strongest choice depends on whether you're optimizing for base income, rare blueprint hunting, or chip efficiency, since each droid type serves a different role. Rare spawns like the Groundmech become meaningfully easier to find after Rebirth 3, which makes rebirth timing as important as the droid choice itself.
What time does the Droid Tycoon event start each day?
Droid Tycoon runs as an ongoing mode rather than a mode with a fixed daily start window, so availability depends on current playlist rotation. Checking Fortnite's in-game mode list at your usual play time is the most direct way to confirm access.
How do I sell a blueprint in Droid Tycoon?
Blueprints are typically applied to droids or upgrade progression rather than sold directly for a currency conversion, based on how the current systems are structured. Confirm the exact mechanic in-game since blueprint handling has shifted across patches like the v1.26 update.
How many attempts do I need for a 90% chance at a 5% drop rate?
That number shifts if your empirical p̂ differs from the wiki's baseline, which is why recalibrating after major patches matters.